

Categories and catalogs are the two ways to group inventory. Categories are your browsing structure: the subjects a customer explores on your website (Americana, Modern Firsts, Maps). Catalogs are curated lists: a printed catalogue, a fair list, a themed selection. An item can be in any number of both.
View your categories
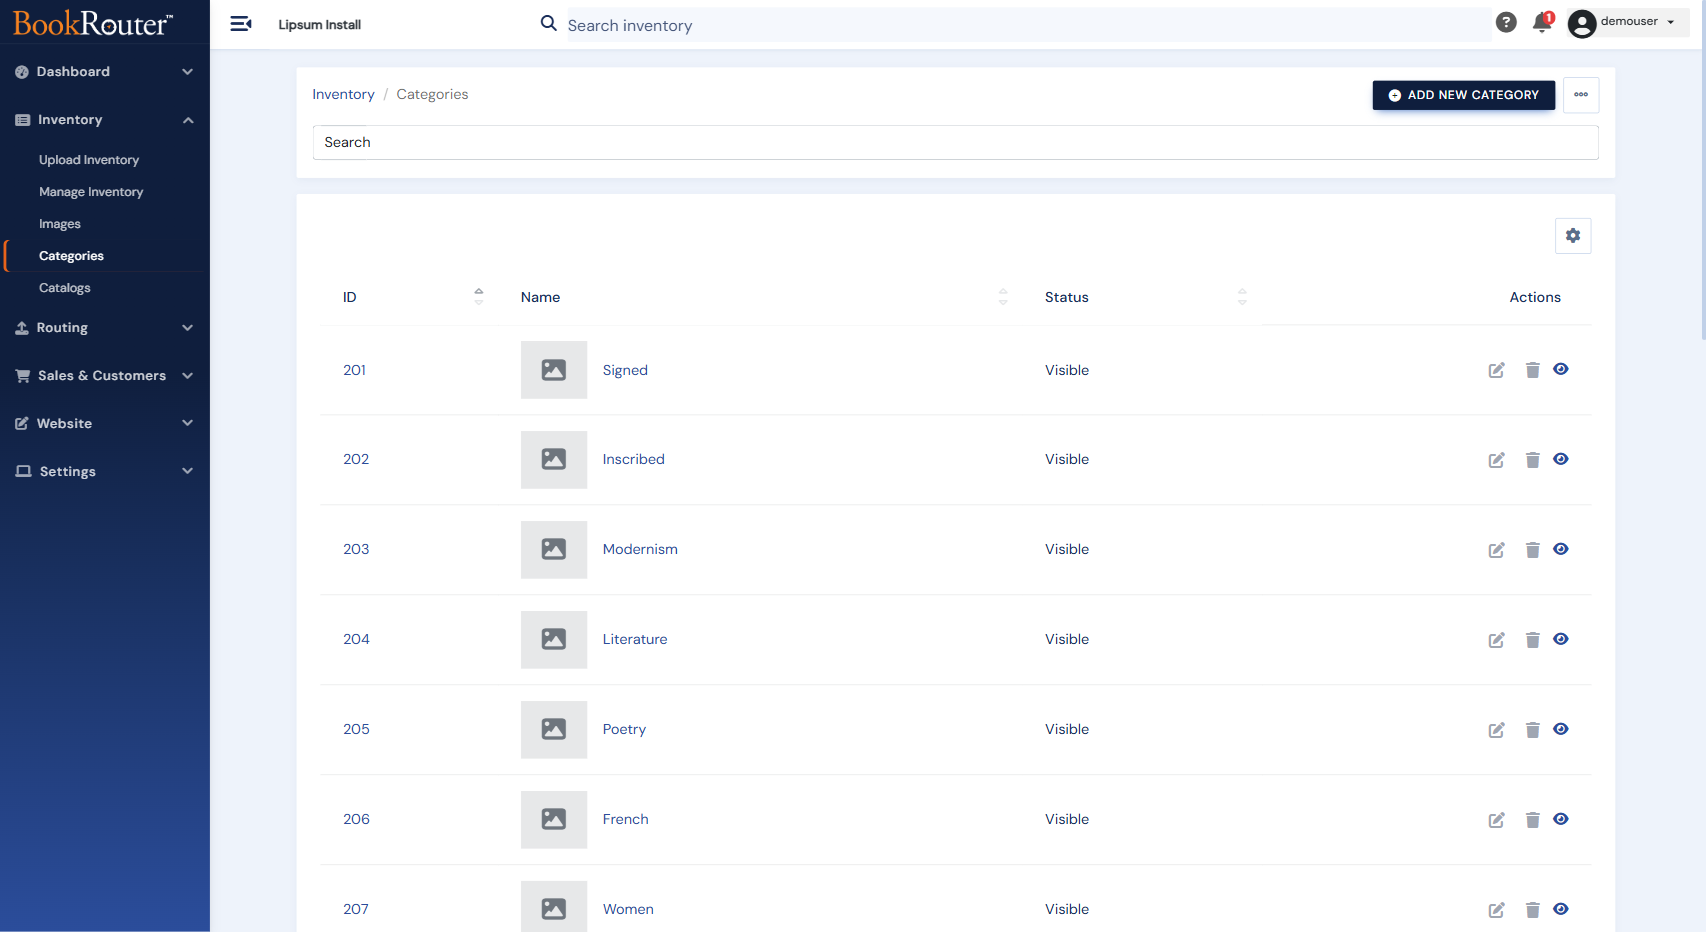
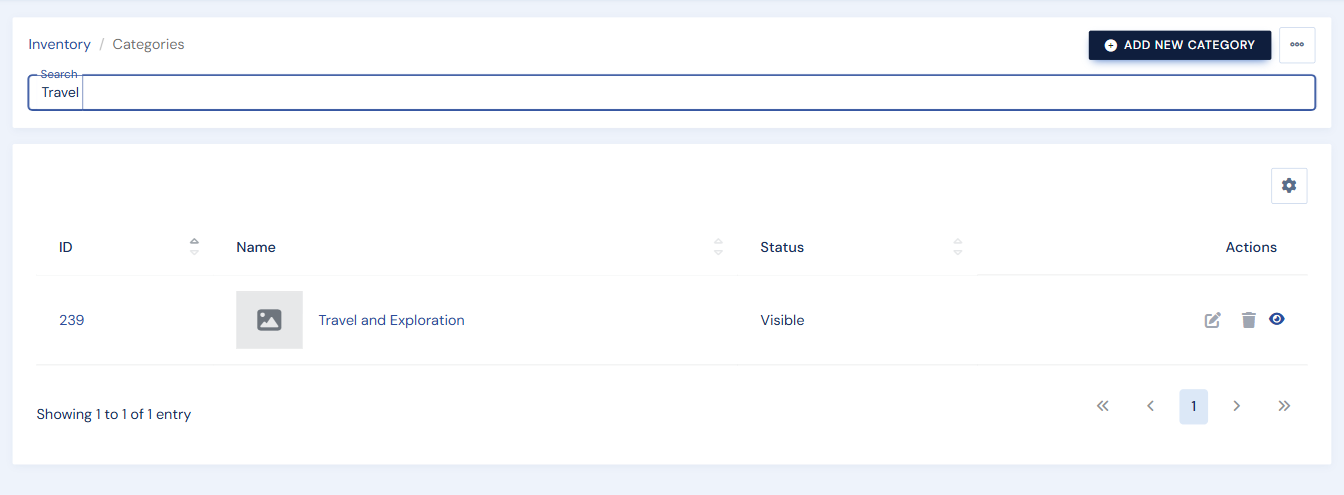
The Categories page lists every category with its ID, name, and status.
- Open Inventory in the left menu.
- Click Categories.
- Review the list. Each row shows the ID, Name, and Status (Visible or Hidden).
- Use the Actions column on any row: the pencil icon edits, the trash icon deletes, the eye icon views the category on your website.
- Click a column header (ID, Name, or Status) to sort the list.
Add a new category
Create a category from the list page. The ID is assigned automatically when you save.
- On the Categories page, click Add New Category.
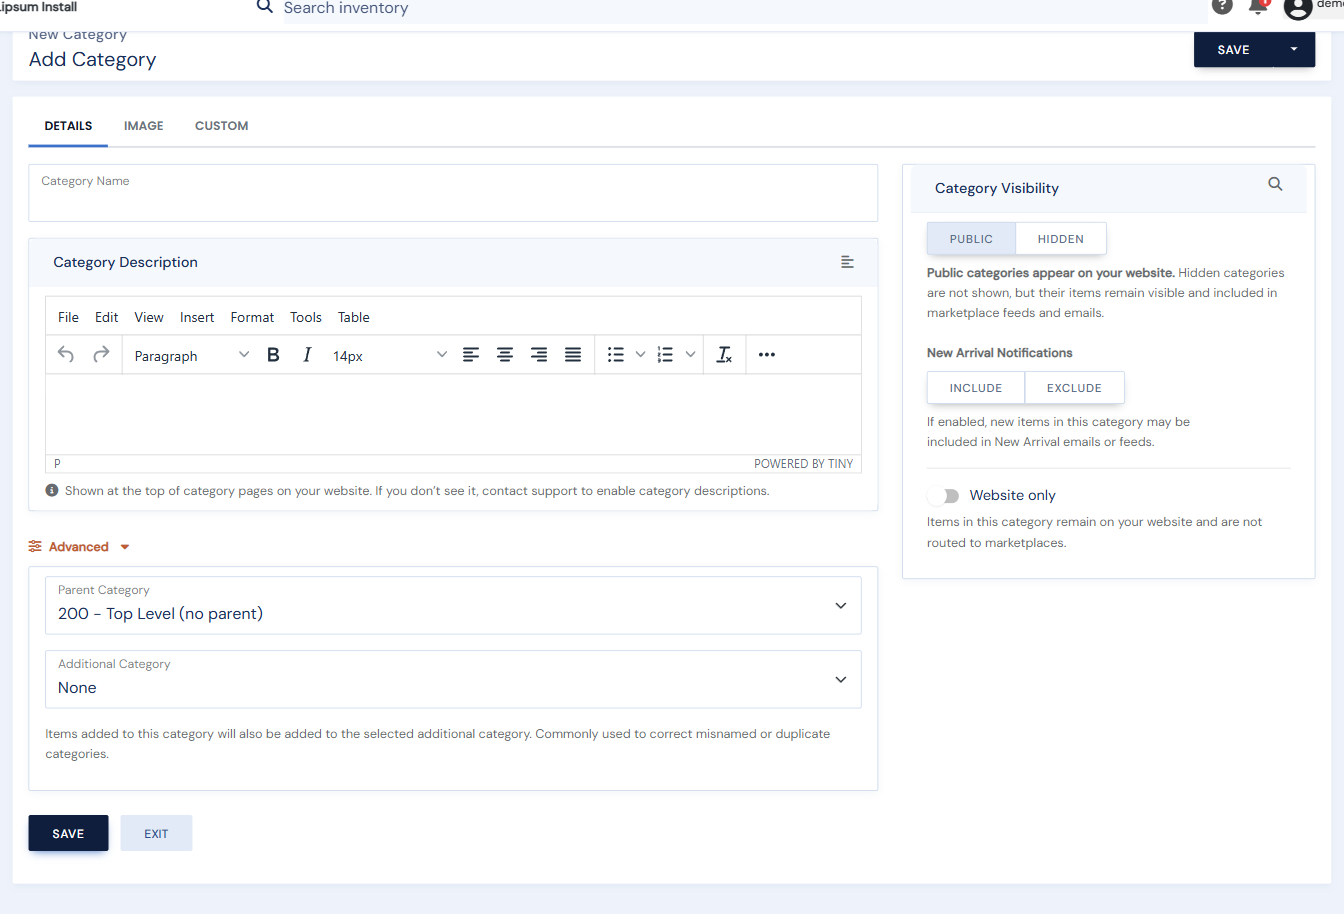
- The Add Category form opens on its Details tab.
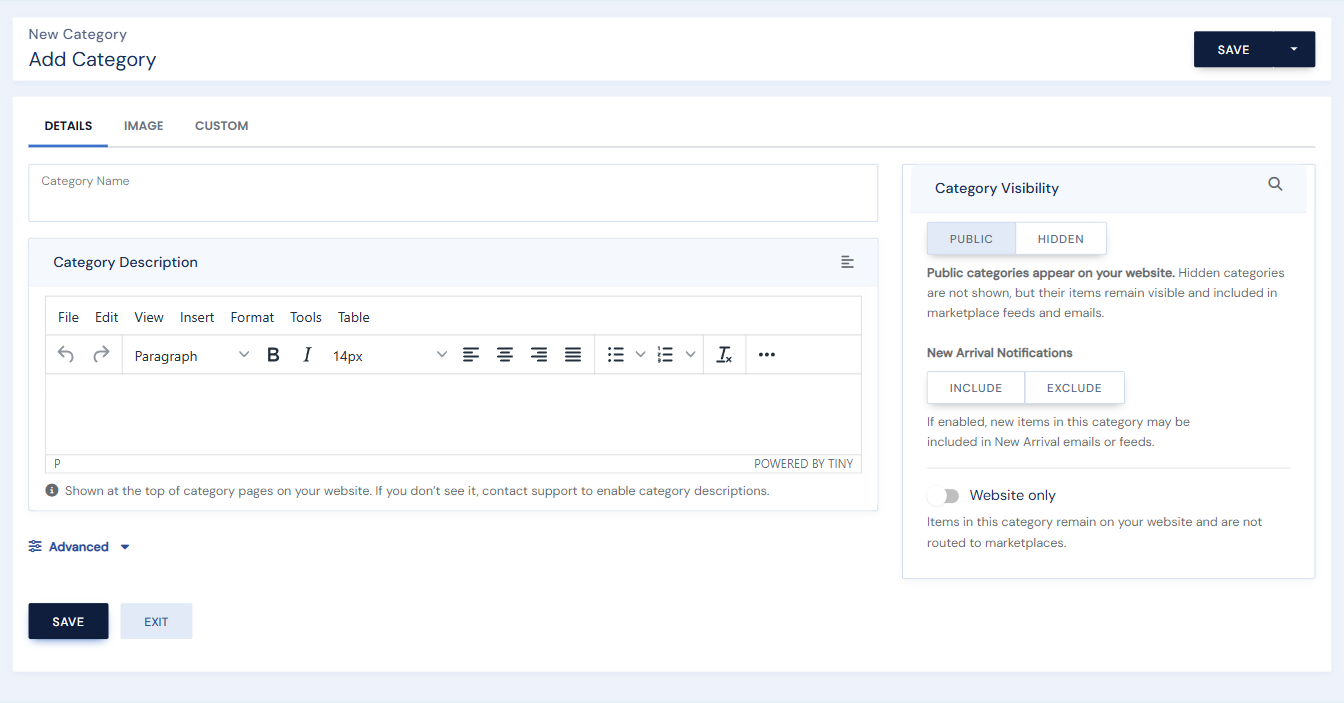
- Type the name in the Category Name field.
- Type an optional description in the Category Description editor. It appears at the top of the category page on your website.
- Set Category Visibility to Public or Hidden. Public categories appear on your website. Hidden categories are not shown, but their items remain visible.
- Set New Arrival Notifications to Include or Exclude. Included categories may appear in New Arrival emails.
- Turn on Website only to keep the category's items off marketplaces.
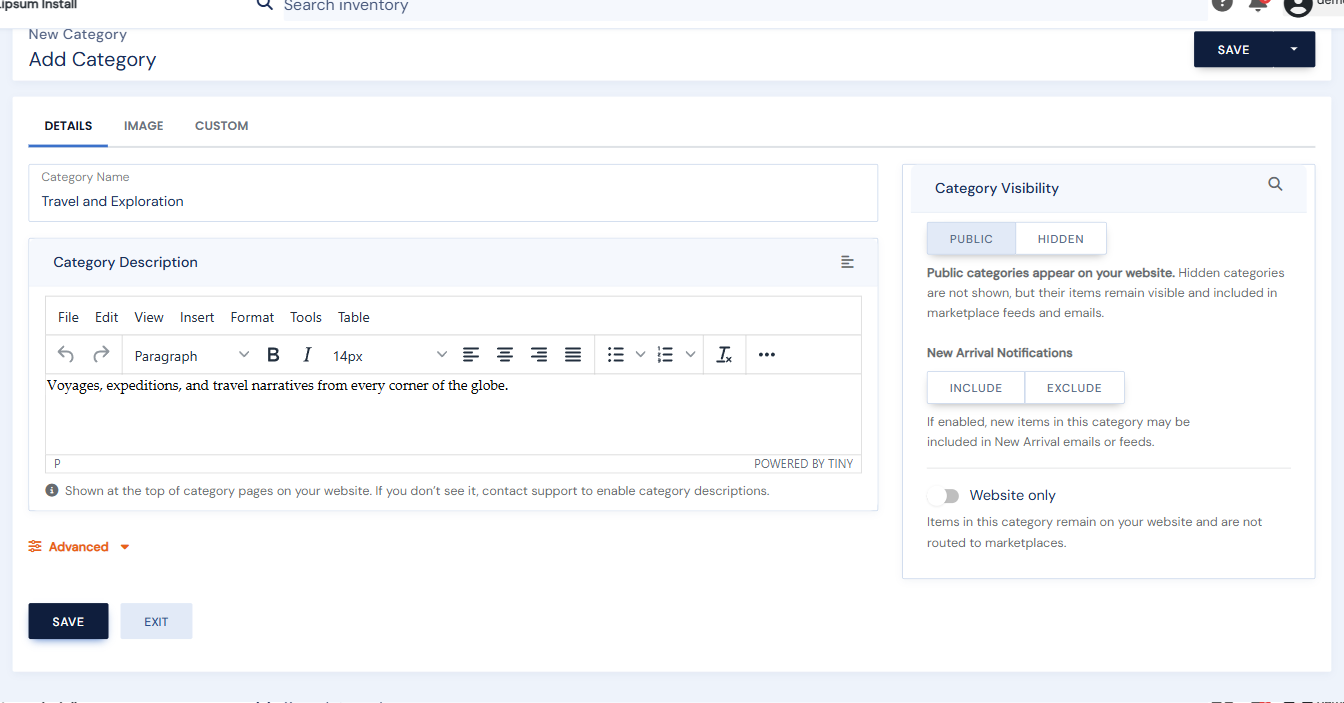
- Click Save.
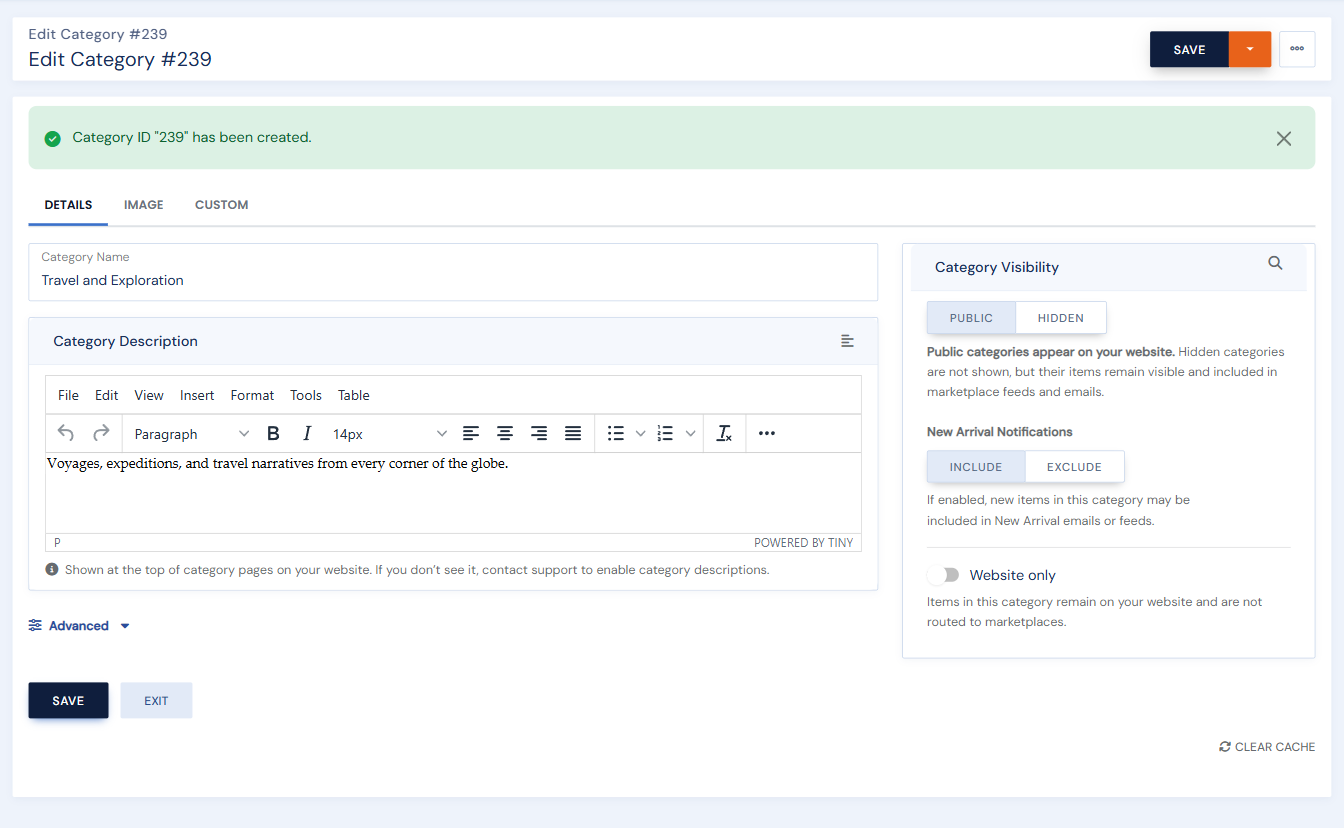
- Confirm the green message: Category ID "239" has been created. The page switches to edit mode with the new ID.
Nest a category under a parent
Use the Advanced section to build a category tree.
- On the category form, click Advanced.
- Choose a Parent Category. Leave 200 - Top Level (no parent) for a top-level category.
- Optionally choose an Additional Category. Items added to this category will also be added there. This is commonly used to correct misnamed or duplicate categories.
Add a category image
A category image can represent the category on your website.
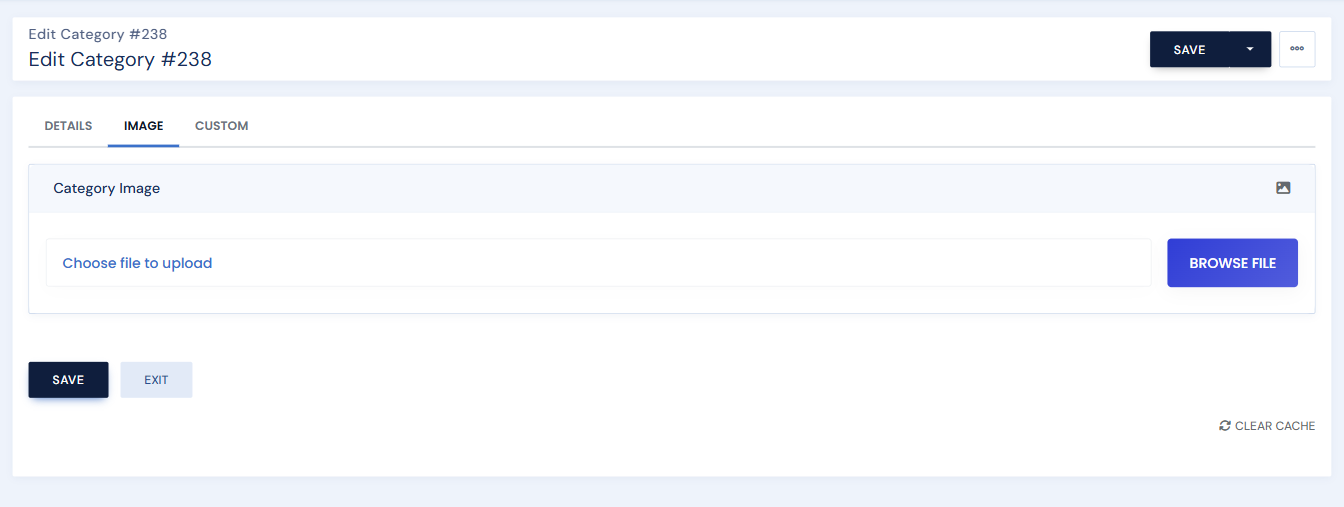
- Open a category and click the Image tab.
- Click Browse File and choose an image.
- Click Save.
Edit an existing category
- On the Categories page, click the pencil icon on the row you want to change. Clicking the ID or Name also opens the editor.
- Change any field on the Details, Image, or Custom tabs.
- Click Save.
- Confirm the green message: Category ID "###" has been updated.
Find a category quickly
- On the Categories page, type into the Search box above the list.
- The list filters as you type. The count below the table updates to match.
Delete a category
Deleting a category removes the grouping only. The items in it are not deleted.
- On the Categories page, click the trash icon on the row.
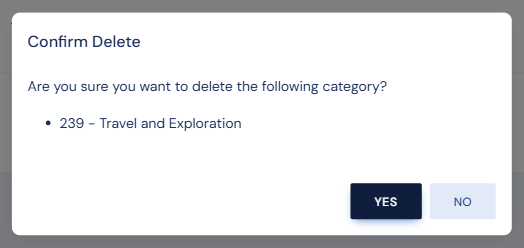
- Review the Confirm Delete dialog. It names the category being removed.
- Click Yes to delete, or No to keep it.
Manage catalogs
Catalogs work the same way as categories. They are great for time-boxed lists: build one for a fair or a mailing, feature it on your website, then retire it without touching your category structure.
- Open Inventory in the left menu.
- Click Catalogs.
- Review the list. The columns and Actions icons match the Categories page.
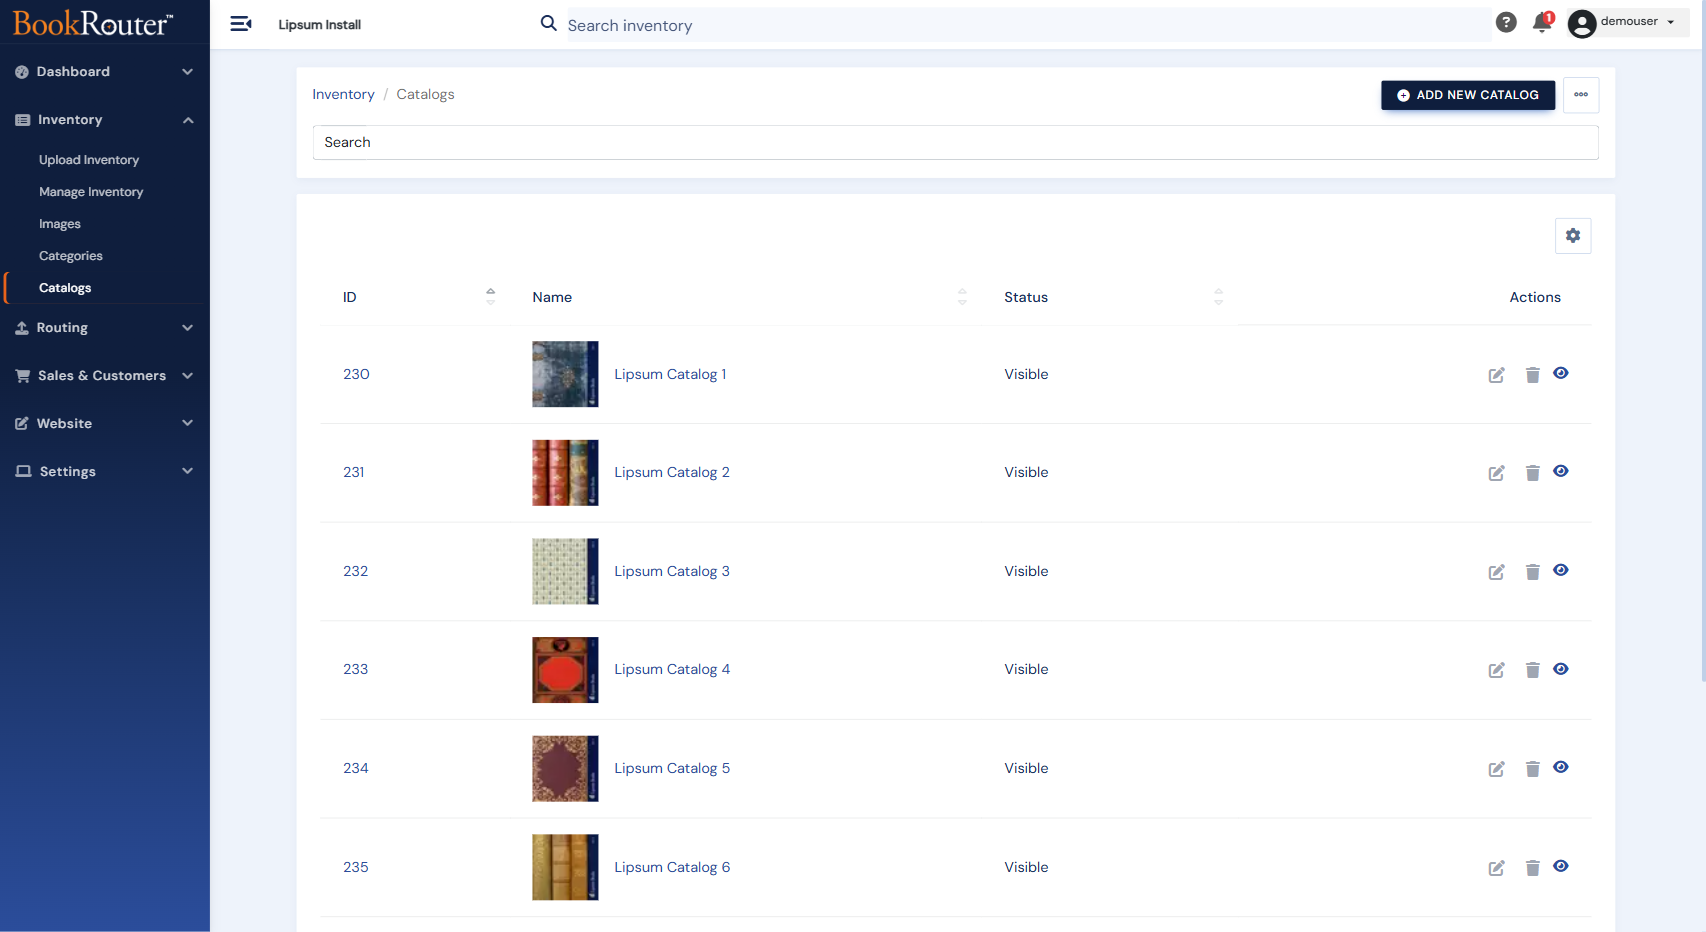
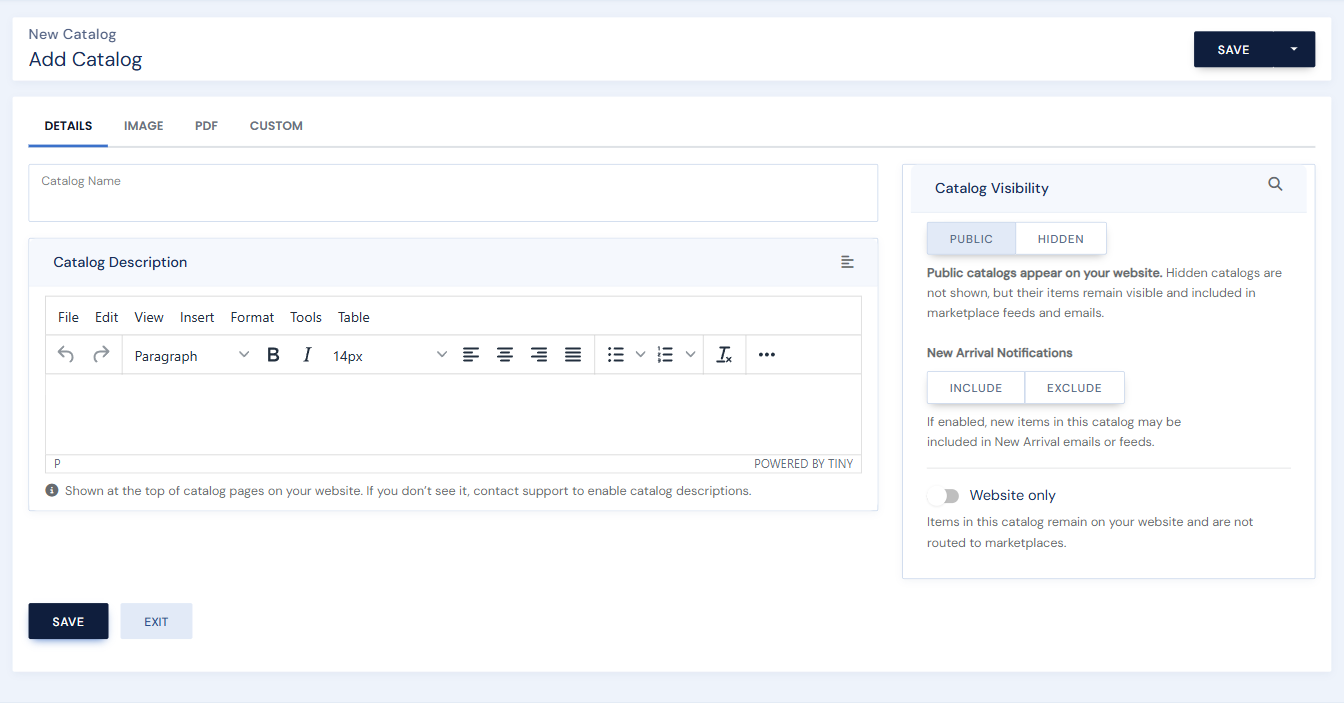
- Click Add New Catalog to create one. The form matches the category form, with two differences: catalogs have no Advanced parent option (they are flat lists), and they add a PDF tab.
Attach a PDF to a catalog
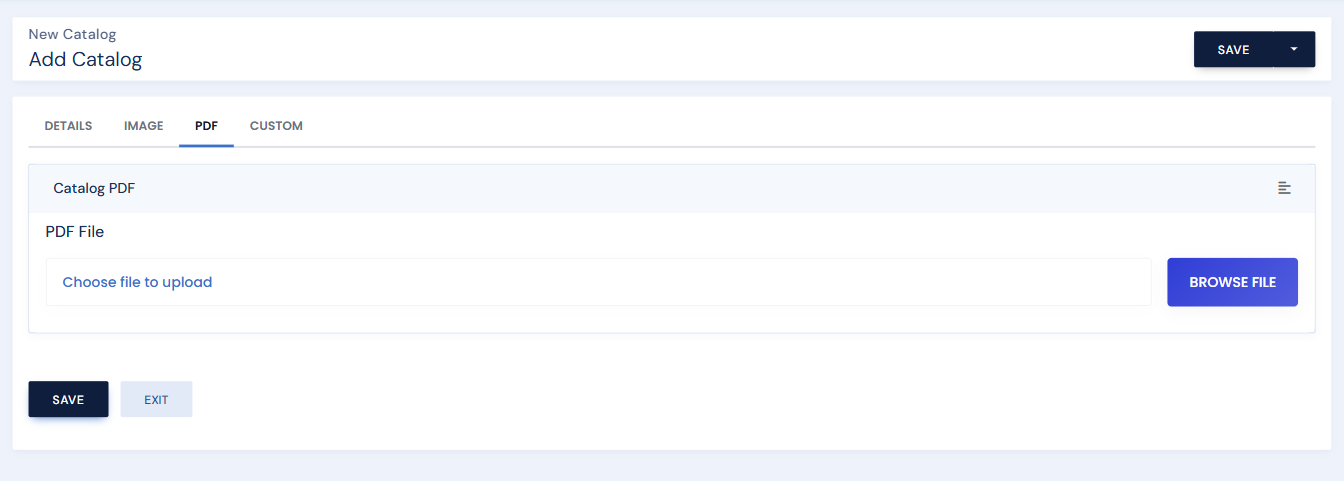
Upload a printable PDF version of the catalog for your website.
- On the catalog form, click the PDF tab.
- Click Browse file and choose the PDF.
- Click Save.
Assigning items
Each item's Catalogs / Categories tab (on the edit form) controls its memberships. To assign many items at once, use Bulk Edit: filter or select the items, then Add to Category or Add to Catalogs in one operation. Category assignments can also ride along in your inventory upload file.
Importing and exporting
The Export Data and Import Data pages both support categories and catalogs, so you can edit your structure in a spreadsheet and bring it back in, or seed a new structure from a file.