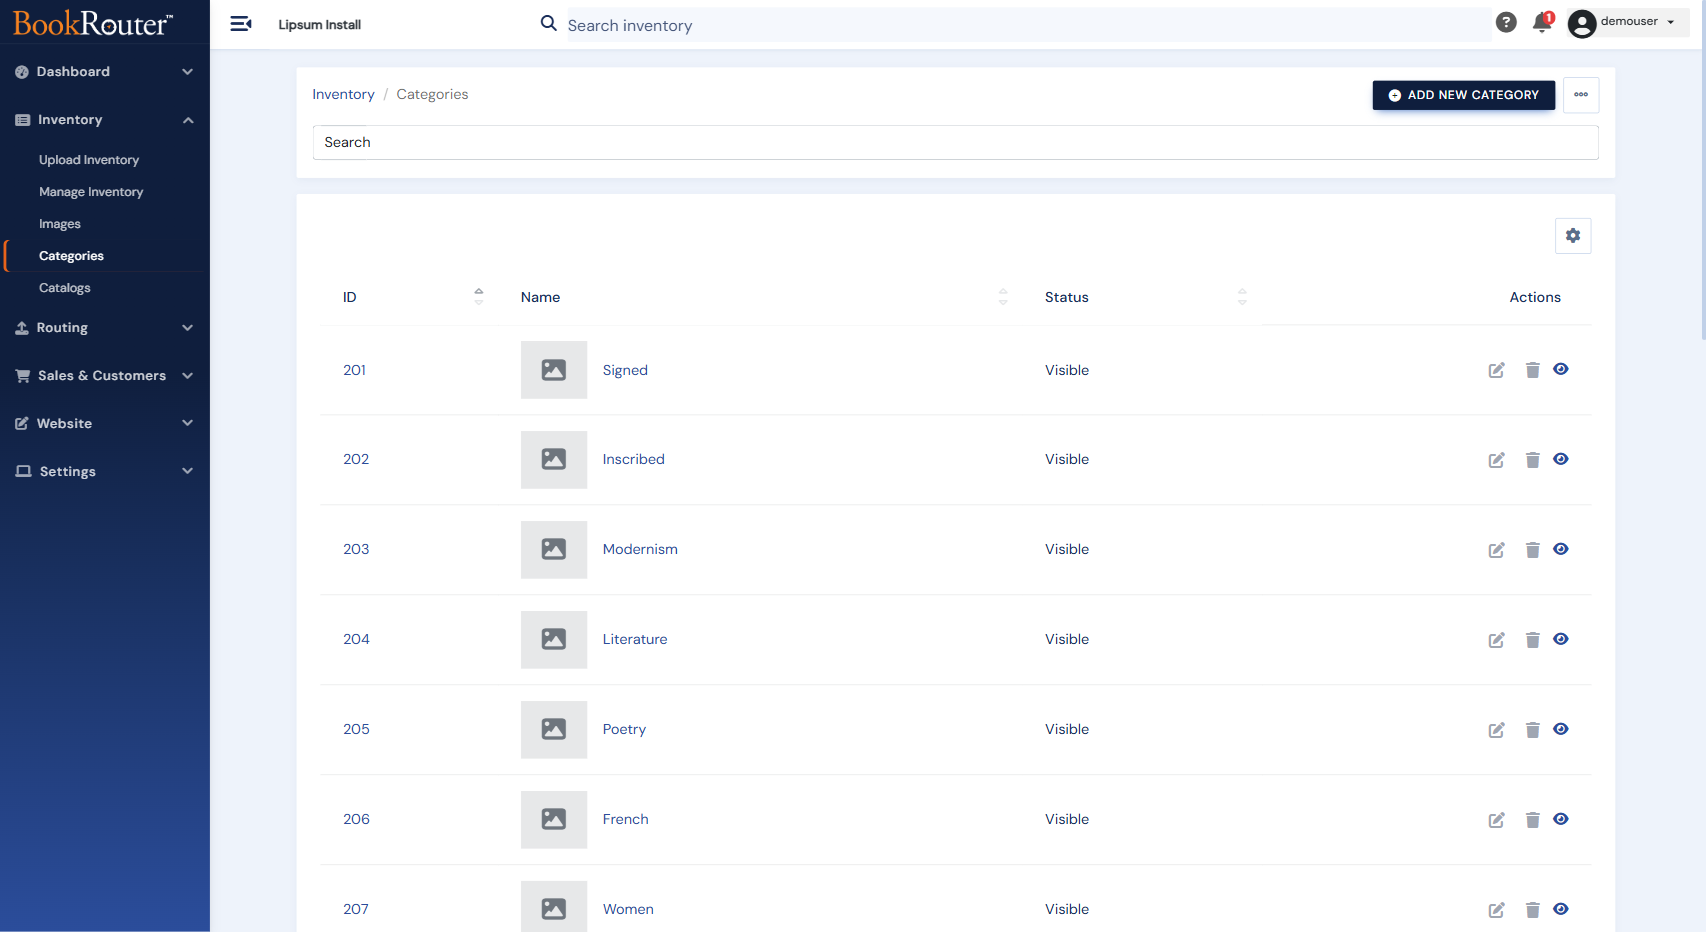
Every task below starts the same way: go to Inventory › Categories, find the category in the list, and click the Edit (pencil) icon in the Actions column. Make the change, then click Save.
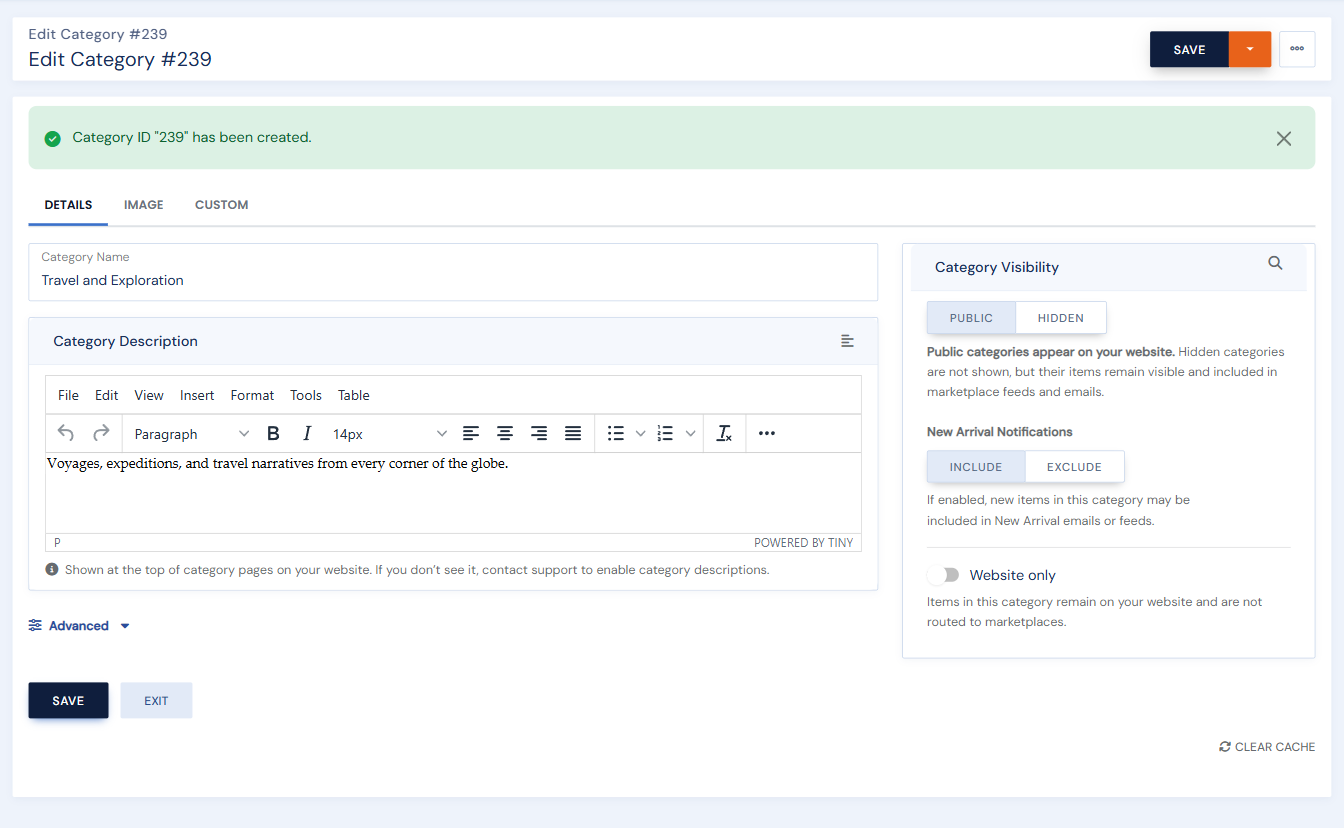
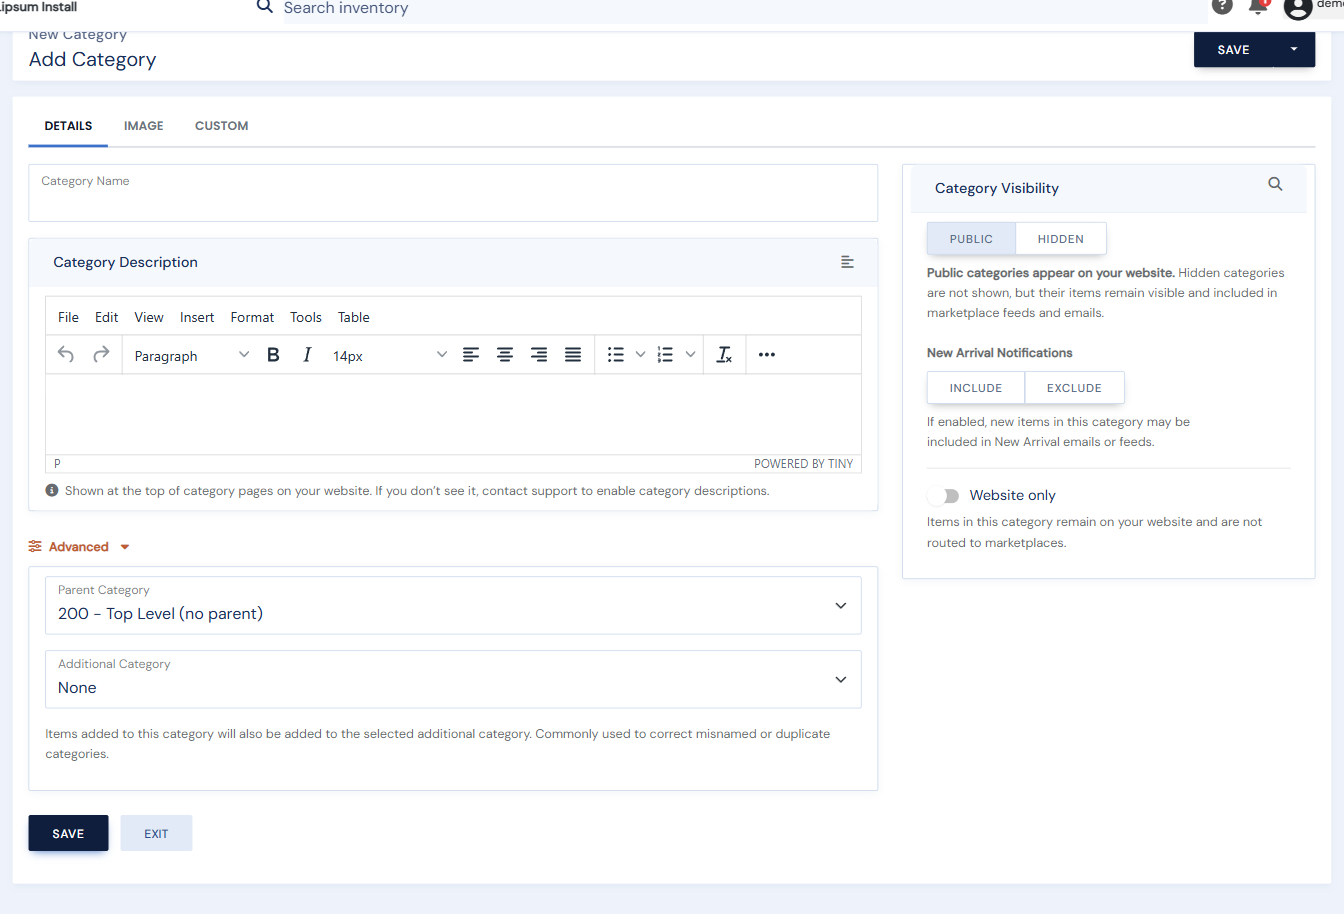
Most options live on the Details tab: the name and description on the left, and the visibility, New Arrival, and Website-only controls in the panel on the right.
How do I rename a category?
On the Details tab, change the Category Name box and save. Items keep their assignment; only the name changes.
How do I edit a category's description?
On the Details tab, edit the Category Description. It appears on the category's page on your website, so it is a good place for a sentence or two that helps both customers and search engines.
How do I change a category's image?
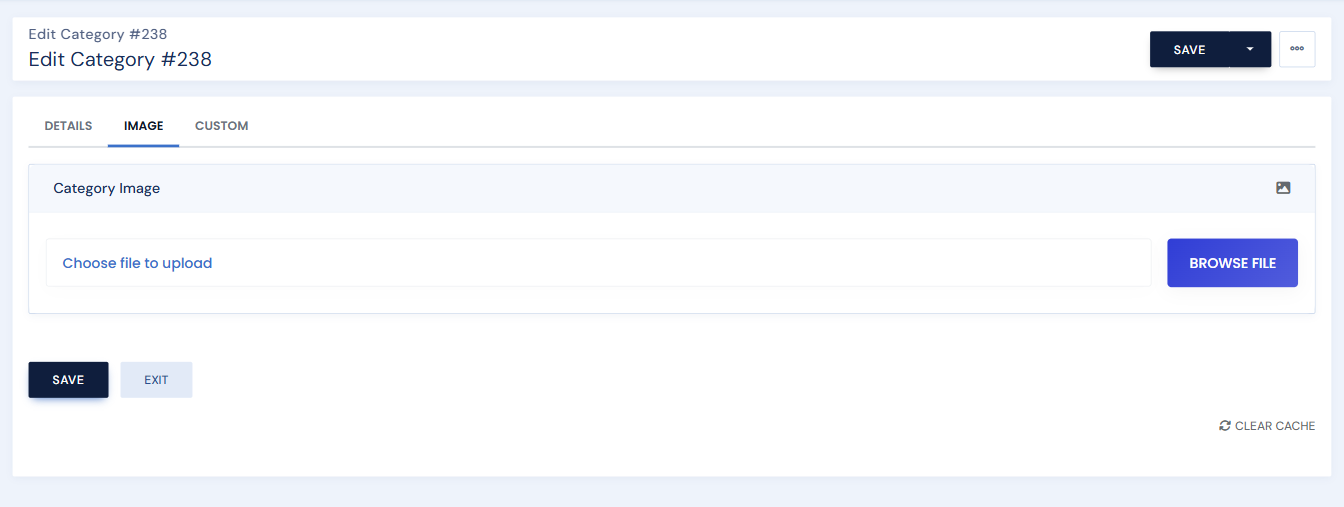
Open the Image tab, click Browse File, choose your image, and save.
How do I combine two categories?
On the Details tab, click Advanced and pick the other category from the Additional Category dropdown. Its items are folded into the one you are editing. Once combined, you can delete the now-empty category.
How do I make a category website-only?
On the Details tab, turn on the Website only toggle (in the right-hand panel). The category still organizes your site, but its items are not routed to marketplaces.
How do I include or exclude a category from New Arrival emails?
On the Details tab, use the New Arrival Notifications control (Include or Exclude) in the right-hand panel. See How can customers sign up for new arrival notifications?
How do I delete a category?
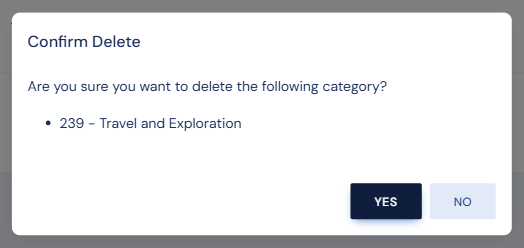
Use the Delete (trash) action on the category's row. Deleting a category never deletes the books in it; they simply lose that category assignment. If the category still has items you want to keep browsable, combine it into another category first (see above), then delete.